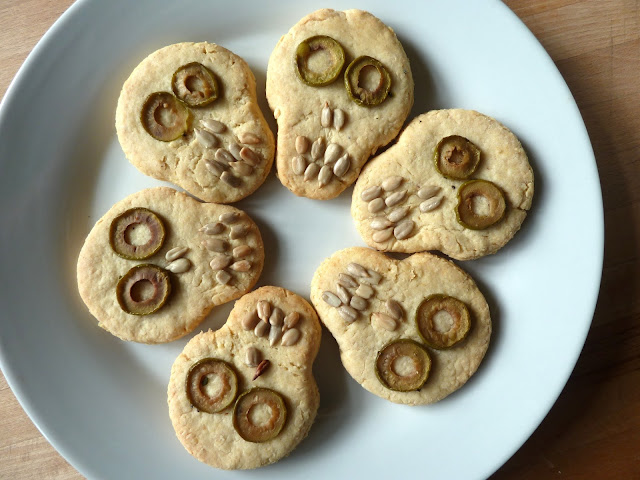
However, with a metric truckload of revision and a couple of assignments hanging over me, I desperately needed a way of procrastinating. So here it is - the cheesy skull crackers I made rather than getting on with my actual university work.
Happy hallowe'en!
Cheesy skull crackers
Ingredients150g self raising flour
50g ground almonds
Pinch salt
3tbsp of non-dairy milk
50g non-dairy spread/butter
5g nooch
Olives
Sunflower seeds
How you do it
Preheat your oven to 180C.
Mix together the flour, almonds, salt and nooch (if your scales aren't overly precise, just grab whacking handful of nooch and that's the right amount) in a bowl.
Add the vegan butter and rub through your fingers until you get something that resembles fine breadcrumbs
Add the milk and bring together til you get a dough.
Roll out on a flour board til the dough is a little under half a centimetre thick.
Cut out some rounds with a round cookie cutter or similar (I used a wine glass)
Between your thumb and forefinger, grab the dough about half way down and squeeze til you have a little jaw for the skull and then gently roll over with a rolling pin - voila, skull biscuits!
Place olives for the eyes and sunflower seeds for nose and teeth. If they're not sticking to the biscuit, brush with a bit of non-dairy milk and try again.
Put your completed skulls onto a greased baking sheet and into the oven for 17 to 20 minutes.


So cute! Great job!
ReplyDeleteI love your procrastination - these bikkies are brilliant - good luck with all the assignments etc
ReplyDeleteThese are so creative and fun!
ReplyDeleteHappy Halloween, and good luck on your assignments!
If you're going to procrastinate, you might as well make cool looking, vegan skull crackers because that's the best kind of procrastination. :-)
ReplyDeleteSo awesome! Lots of talent with the decorating! I bet they taste delicious, too...
ReplyDeleteYou just won Halloween!
ReplyDeleteThese look brilliant. Love how you've decorated them.
ReplyDeleteThese are awesome, I am going to make one-day
ReplyDelete